Mechanical Packing Installation
Selection, Cutting and Installation of Pump- and Valve Packing
It is necessary to combine basic mechanical knowledge with available guidelines to install and operate stuffing box packing professionally. Please observe the guidelines below.
- Remove all the old packing from the stuffing box.
- Clean the stuffingbox thoroughly removing all debris and inspect for damage on the sealing surfaces.
- Check the flush is working and has clean water.
- Inspect the application and report any concerns to a higher authority (even at a later time) so that it can be logged.
- Cut the selected packing using a sharp knife with one movement (don’t saw through the packing). Use a proper packing cutting device.
Calculation of Cutting Length
For best results use an PROPACK packing cutter (see page Tools) and our new Calculation-Tool. Von uns entwickelt, um Ihnen die Arbeitsschritte zu erleichtern. >> Calculator.
Types of Cut
Pumps and Mixers (Rotary):
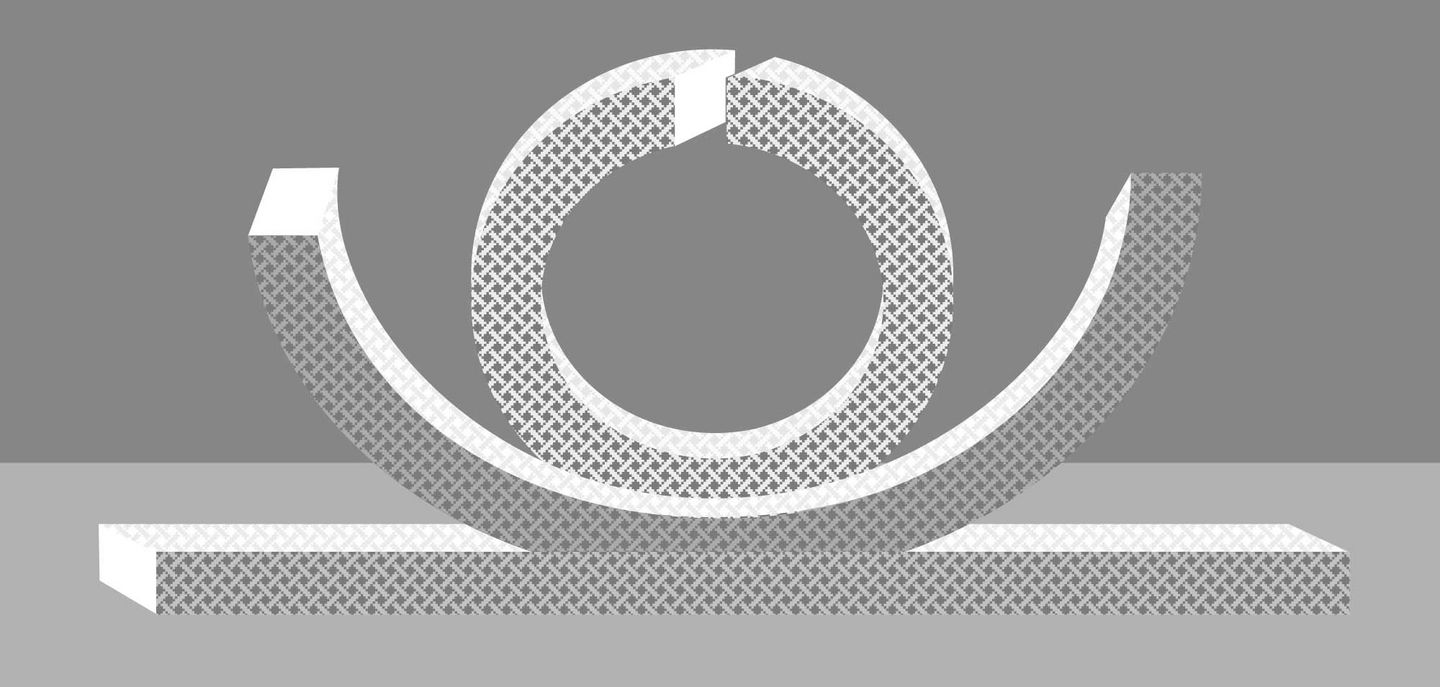
A butt cut is recommended, if a skive cut is chosen the ring should be pre-compressed in a die form.
Butt Cut Rings: Cut at approx. 75 degrees. Add extra length in % to circumferential middle line according the chart.
Valves (Static):
A skive cut is recommended, exception fraying packing styles which are preferably cut butt.
Skive Cut Rings: Cut at 45 degrees on circumferential middle line and add 2 % (see Tools).
PDF-Instructions for download
Recommended Packing Cut Angle
Diagonal (Skive) cut 45° for valves and piston pumps
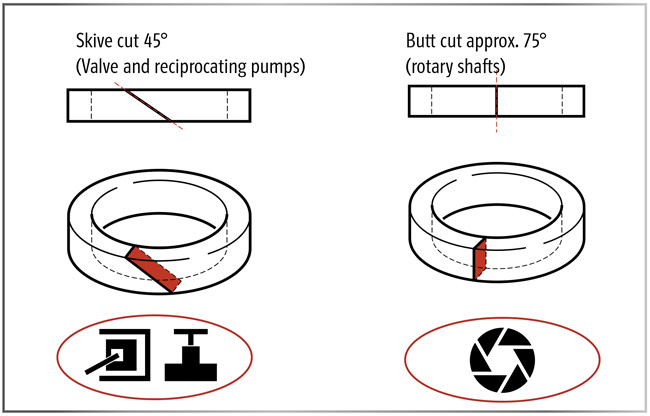
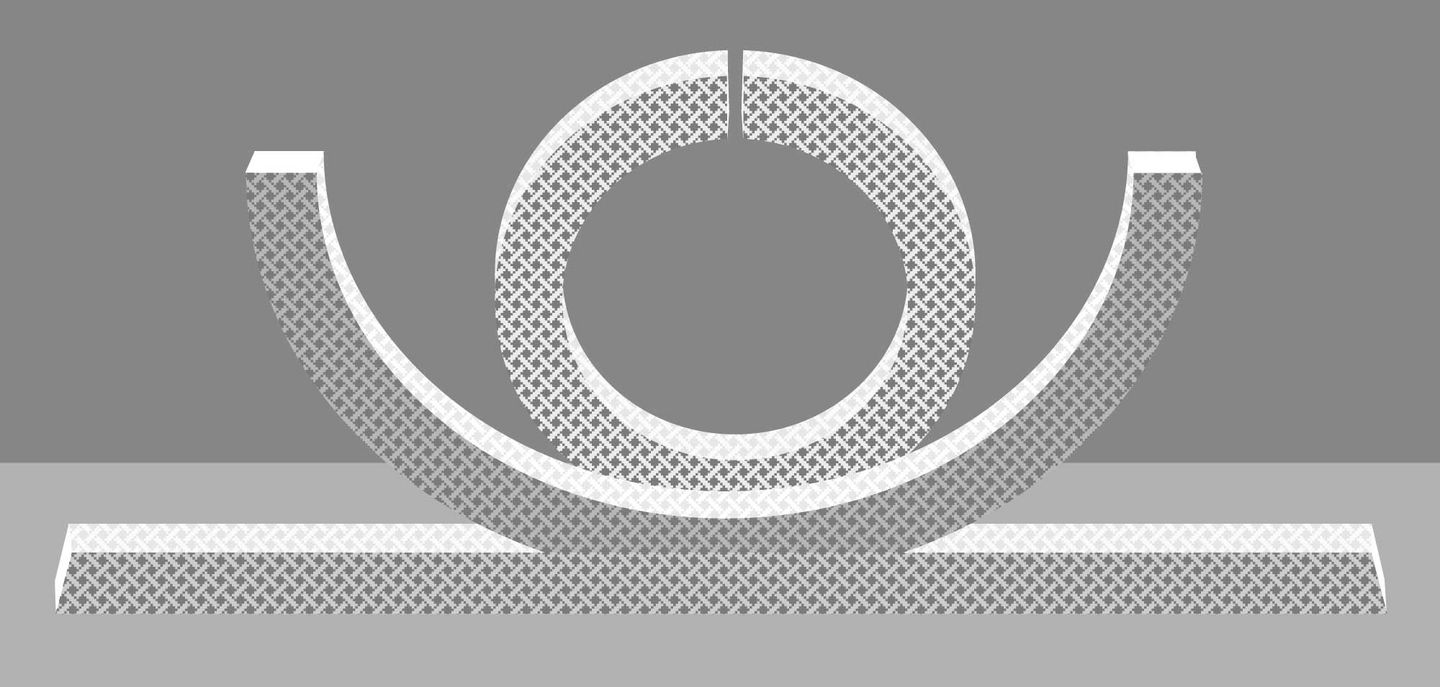
Butt cut with an cutting angle of approx. 75° brings the ends in ringform in a parallel orientation.
- Tamp down each ring of packing with a suitable tool; do not attempt to tamp down all the rings at once with the gland, as it is not possible. If a ring is a tight cross-sectional fit, do not tap it with a hammer to reduce its cross-section as this can damage the fibers. Instead, gently roll it with a round item. It is even better to use the calibration device in the package cutter W5PS-BU or W5PS-SK (see tools).
- Position: Distribute the packing joints symmetrically to eliminate any leak path. Tighten the gland with the nuts equally.
- Installation of Valve Packing: Pre-compress the packing for pressures up to 50 bar (725 psi) with about 2 times (gaseous liquids up to 5 times) the pressure and a minimum of 5 N/mm2/725 psi) (gaseous 10 N/mm2/1.450 psi) above 50 bar (725 psi) with 1.5 times (gaseous products up to 2 times) the pressure.
Installation of Pump Packing:

The applied gland force should ensure that the rings are seated properly to the stuffingbox and compressed enough to form a seal. (Step A)
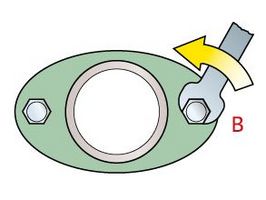
Then loosen the nuts to relax the gland compression
(Step B)

and adjust the nuts only finger tight (Step C),

checking where possible so that you can rotate the shaft by hand. Turn on the flush (if used). Start up the equipment. Leave pump operating for 20 minutes before making any adjustments. Tighten as required by one flat of the nuts at 10 minute intervals until acceptable leakage is achieved (Step D).
Never - Over tighten the gland nuts. If the gland is too tight, the fluid film between shaft and packing can be destroyed and packing life reduced.
Never – Back-off (slacken) the gland nuts under pressure!
Backing-off the gland nuts can allow hydraulic force from the product to push back the packing. Force from the gland follower cannot overcome the hydraulic force,
and the integrity at the base of the stuffing box will be destroyed. The position of the lantern ring may also be affected and this may cut off the flush water flow.
